Use the schedule and the history
Keep the items for a service in a schedule, and find each passage that went live.
Make a schedule
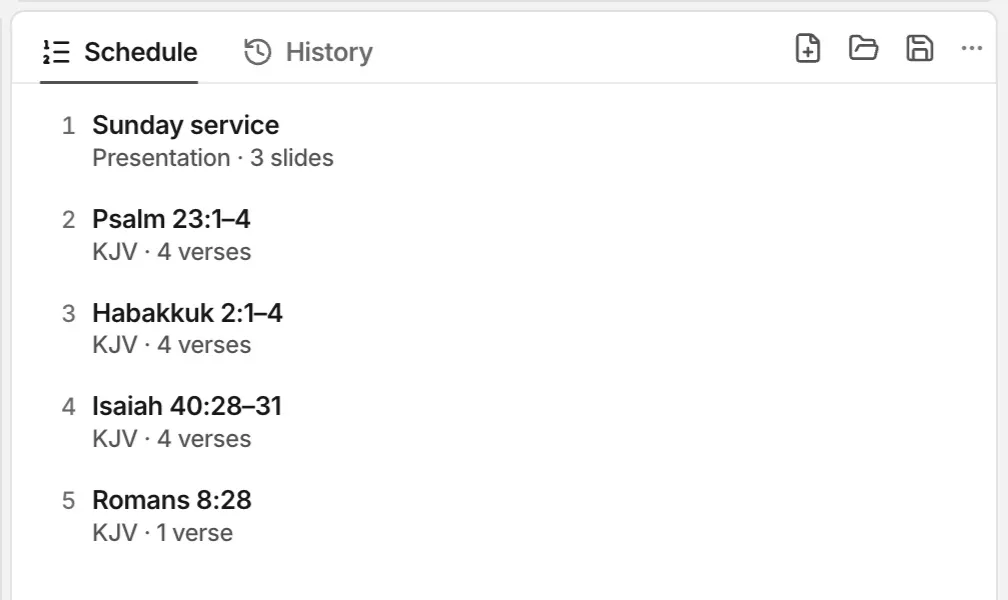
The Schedule panel keeps the verses and presentations for a service.
- Select the verses in the Scriptures panel.
- Click Add to schedule.
- To add a presentation, right-click it in the Presentations panel, then click Add to schedule.
- To keep the schedule, click the Save schedule button in the Schedule tab bar.
FlowCast saves the schedule as a .flowcast file. The New schedule and Open schedule buttons are adjacent to the Save schedule button.
You can also use these keys:
- Command-N (Ctrl-N on Windows) starts a schedule.
- Command-O (Ctrl-O on Windows) opens a schedule.
- Command-S (Ctrl-S on Windows) saves the schedule.
Use the schedule during the service
- Click an item to show it in the preview.
- Double-click an item to send it live.
- Drag an item to change its position in the schedule.
- Right-click an item, then click Remove from schedule, to remove it.
Find a passage in the history
The History tab is adjacent to the Schedule tab. It shows each passage that went live, with the newest passage at the top. The history stays after you close FlowCast.
- Click the History tab.
- Type a reference, such as
John 15, or words from the verse. - Click a passage to show it in the preview.
- To send the passage live again, double-click it, or push Enter.
Right-click a passage in the history to send it live, add it to the schedule, or remove it from the history. To clear the history, click the Clear history button in the History tab bar.